Splitboarding for Beginners: Gear, Technique, and Safety
By Justin McKelvey · Updated
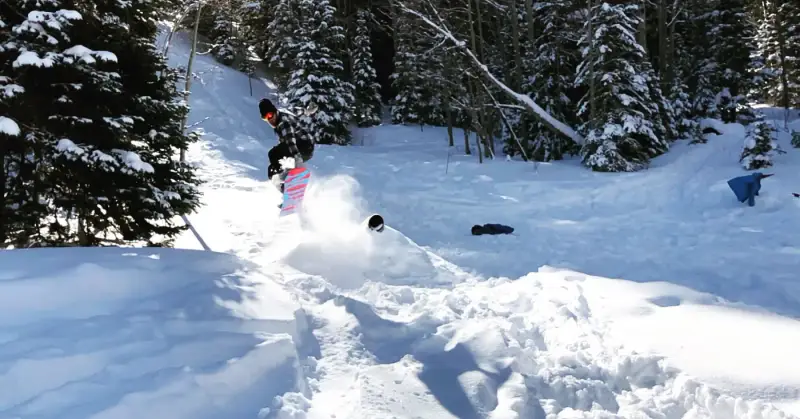
Short answer: a splitboard is a snowboard that separates into two ski-like halves for climbing uphill with skins, then locks back together for riding down. To start safely, take a recognized avalanche course first, check the local avalanche forecast every day, ride only with trained partners carrying a beacon, probe, and shovel, and do your first tours with a certified guide.
How a splitboard works
A splitboard looks like a regular snowboard, but it's cut lengthwise down the middle. Clips hold the two halves together for the descent. On the way up, you separate the halves, attach climbing skins to the bases, and mount your bindings in a touring position so you can stride uphill like a skier. At the top, you remove the skins, join the halves, move your bindings back to riding position, and ride down.
That switch between climbing and riding is called a transition, and getting it smooth and quick is one of the first skills new splitboarders practice.
Safety first: education before equipment
Splitboarding takes you into the backcountry, where there's no avalanche control and no ski patrol. Gear is not a substitute for knowledge.
- Take a recognized avalanche course. In the US, look for AIARE or American Avalanche Association (AAA) courses. In Canada, look for Avalanche Canada training courses.
- Check the avalanche forecast every day. US regional centers are listed at avalanche.org; in Canada use avalanche.ca.
- Travel with trained partners who carry and practice with rescue gear. Never tour alone.
- Practice beacon searches regularly so rescue is second nature.
- Hire a certified guide for your first tours.
As general education, avalanches commonly release on slopes of roughly 30 to 45 degrees. A course teaches how to recognize avalanche terrain, including runout zones below it, and how to choose routes based on the day's forecast.
Resort boundary or sidecountry gates lead into this same uncontrolled terrain. Being close to the lifts doesn't make it safer.
What you need
Splitboard setup
- Splitboard: choose length and shape for the riding you'll do, much like a regular board. See how to choose a snowboard. Browse splitboards.
- Splitboard bindings: designed to switch between touring and riding modes. Regular snowboard bindings generally need adapter hardware, and dedicated splitboard bindings are a common choice.
- Climbing skins: cut to fit each half of the board. Browse climbing skins.
- Adjustable poles: extended for climbing, collapsed for riding.
- Boots: many riders use stiffer snowboard boots for touring support. Some boots offer a walk mode.
Avalanche rescue gear
Every person carries a transceiver (beacon), probe, and shovel and knows how to use them. See avalanche safety gear explained.
Other essentials
Layers you can vent while climbing, a pack, water and food, a first-aid kit, navigation, a headlamp, and a repair kit for bindings and skins. Ski crampons (sometimes called harscheisen) help on icy climbs.
Touring technique basics
- Glide, don't lift. Slide each half forward instead of stepping, letting the skins grip.
- Use heel risers on steeper climbs to reduce calf strain.
- Follow a good skin track. Moderate switchbacks are usually more efficient than going straight up.
- Practice kick turns on gentle terrain before you need them on steeper switchbacks.
- Transition in a safe spot, out of avalanche paths and sheltered from wind where possible.
Transitions step by step
Every splitboard system works a little differently, so follow the manufacturer's instructions for yours. The general sequence looks like this:
Ride mode to tour mode
- Find a safe, flat spot out of avalanche paths and stomp out a platform.
- Take off your bindings and unhook the clips holding the halves together.
- Separate the halves and attach a skin to each base, tip first, pressing out air bubbles.
- Mount your bindings in touring position, extend your poles, and layer down for the climb.
Tour mode to ride mode
- Stop in a safe, sheltered spot and add a warm layer before you cool down.
- Remove the skins, fold them glue to glue, and store them somewhere they'll stay dry.
- Join the halves, lock the clips, and move your bindings back to riding position.
- Collapse your poles, double-check every clip and binding, then ride.
Practice both at home and on a mellow slope until you can do them with gloves on and without thinking.
Common beginner mistakes
- Buying gear before training. A splitboard gets you into avalanche terrain; a course teaches you how to decide where to go.
- Letting skins get wet or covered in snow, which can stop them from sticking.
- Forgetting a clip or binding lock during a rushed transition.
- Choosing a route that's too ambitious for the forecast or the group's fitness.
Riding a splitboard
Once locked together, a splitboard rides much like a regular board, though some riders notice slight differences in feel. If you're new to deep snow, build skills in the resort first; the techniques in how to ski powder translate in spirit: stay centered, keep speed, and make smooth turns. If you're still learning to ride, start with how to snowboard.
A sensible path into splitboarding
- Ride confidently off-piste and in powder inside resort boundaries.
- Take an introductory avalanche course and a companion rescue course.
- Rent a splitboard and rescue gear for your first guided tour.
- Practice transitions and beacon searches at home and on easy terrain.
- Build experience gradually with trained partners and conservative objectives.
FAQ
What is a splitboard?
A splitboard is a snowboard that splits into two halves for climbing uphill with skins attached, then reconnects into a snowboard for riding down.
Can I use regular snowboard bindings on a splitboard?
Regular bindings generally need adapter hardware to work on a splitboard. Many riders choose dedicated splitboard bindings designed to switch between touring and riding modes.
Do I need avalanche training to splitboard?
Yes. Splitboarding takes you into uncontrolled backcountry terrain. Take a recognized avalanche course, check the daily avalanche forecast, carry and practice with a beacon, probe, and shovel, travel with trained partners, and start with a certified guide.